May 25, 2023 · Written by Foodtolive Team
A Beginner’s Guide to Baking: Everything You Need to Know
Baking is not only a delightful hobby but also a skill that brings joy, satisfaction, and delicious treats to your home. If you’re a beginner, embarking on your baking journey can be both exciting and daunting. But fear not! This comprehensive guide will equip you with everything you need to get started and become a confident home baker. From essential equipment and ingredients to invaluable tips and step-by-step recipes, we’ll walk you through the wonderful world of baking and inspire you to create culinary masterpieces right in your own kitchen. So put on your apron and let’s dive into the art of baking!
Must-Have Baking Equipment
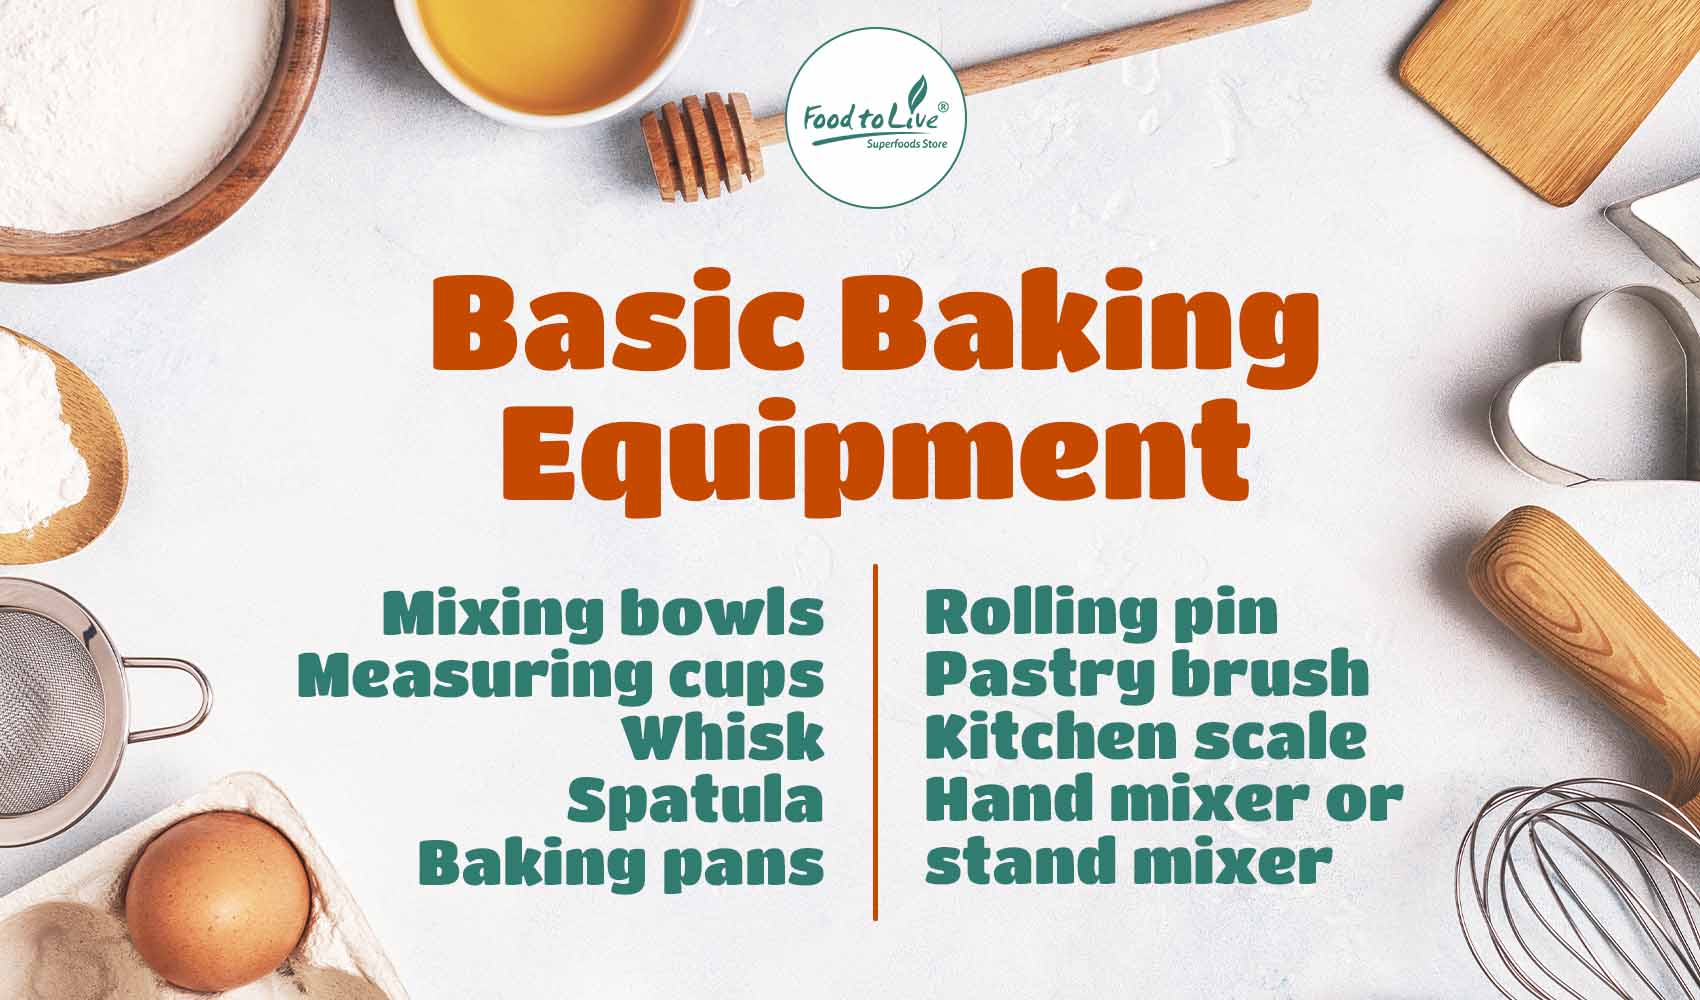
Before you start baking, it’s important to have the right tools at your disposal. Here’s a detailed list of must-have baking tools to help you get started:
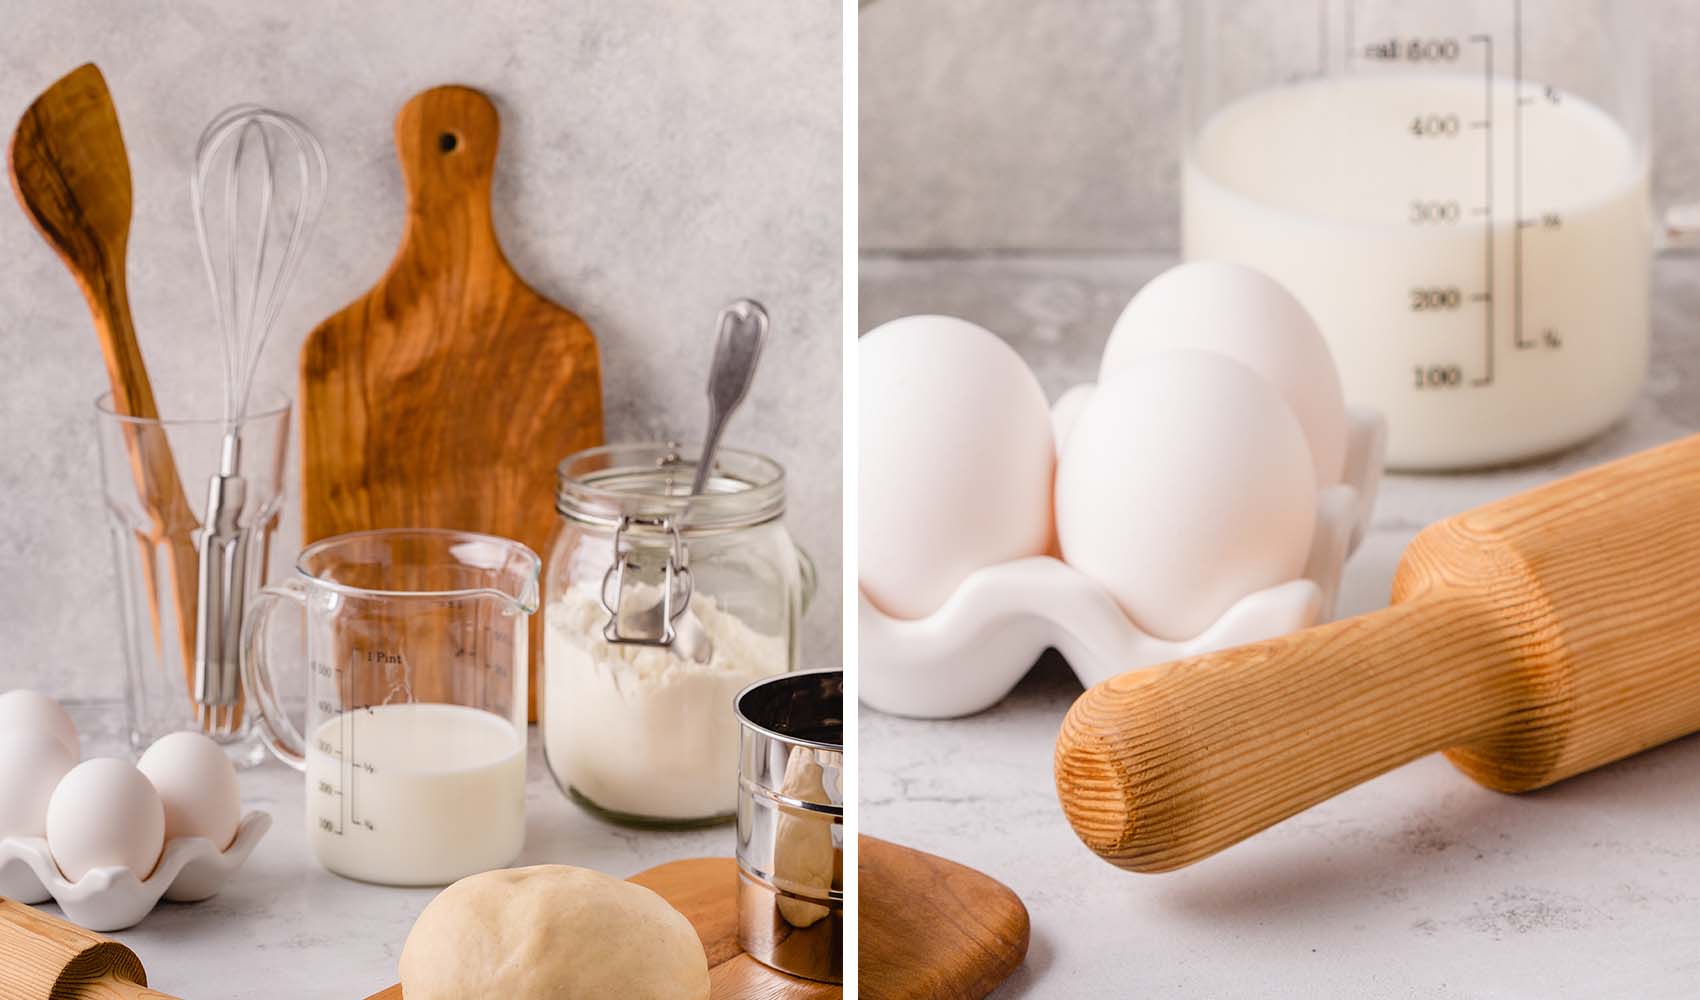
- Mixing Bowls: Invest in a set of sturdy mixing bowls in various sizes. Stainless steel or glass bowls are great options.
- Measuring Cups and Spoons: Accurate measurements are crucial in baking. Have a set of measuring cups (both liquid and dry) and measuring spoons for precise ingredient proportions.
- Whisk: A whisk is essential for combining ingredients, incorporating air into batters, and achieving smooth textures.
- Spatula: Get a heat-resistant spatula for scraping bowls, folding ingredients, and ensuring no batter goes to waste.
- Baking Pans: Start with basic baking pans such as round cake pans, square pans, and a muffin tin. Non-stick pans are preferable for easy release.
- Cooling Rack: Allow your baked goods to cool evenly by placing them on a cooling rack. This helps prevent sogginess.
- Rolling Pin: For tasks like rolling out dough for cookies or pie crusts, a sturdy rolling pin is a must.
- Pastry Brush: Use a pastry brush to apply glazes, egg washes, or melted butter to pastries, bread, or cakes.
- Oven Thermometer: Ensure your oven temperature is accurate for consistent baking results by using an oven thermometer.
- Kitchen Timer: Keep track of baking times accurately with a reliable kitchen timer or use the timer on your phone.
- Hand Mixer or Stand Mixer: While not essential, an electric mixer can make tasks like creaming butter and mixing dough easier. A hand mixer is more affordable, while a stand mixer offers convenience and versatility.
- Baking Sheets: Invest in good-quality baking sheets for cookies, sheet cakes, and other baked goods. Look for ones with a non-stick surface or use parchment paper.
- Piping Bags and Tips: If you’re interested in decorating cakes or piping creams, having a set of piping bags and tips will come in handy.
- Pastry Cutter or Bench Scraper: These tools are useful for cutting butter into pastry dough or cleaning work surfaces.
- Kitchen Scale: For precise measurements, a kitchen scale is invaluable, especially when working with different flours and ingredients.
By equipping yourself with these essential baking tools, you’ll be ready to tackle a wide range of recipes and enjoy the process of baking with ease.
Must-Have Baking Ingredients:

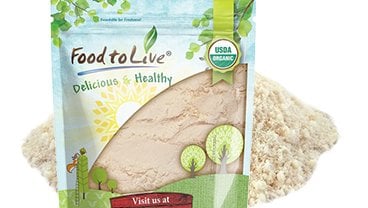
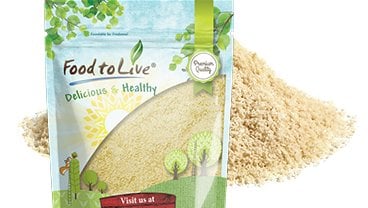
Flour: The Fundamental Structure
- All-purpose flour: The versatile staple for various baked goods
- Whole wheat flour: Adding depth and nutrition to your creations
- Alternative flours: Exploring gluten-free options and unique flavors
Sweeteners: Adding the Perfect Touch of Sweetness
- Granulated sugar: The classic sweetener for most baked goods
- Brown sugar: Imparting moisture and rich caramel notes
- Honey, maple syrup, and agave nectar: Natural alternatives for depth and complexity
Leavening Agents: Rising to the Occasion
- Baking powder: Creating light and fluffy textures
- Baking soda: Providing lift and browning reactions
- Yeast: The magic behind bread and dough rising
Fats: Enhancing Flavor and Texture
- Butter: Adding richness and tenderness to baked goods
- Vegetable shortening: Achieving flakiness in pie crusts and pastries
- Oil: Moisture and lightness for cakes and quick breads
Eggs: Binding and Moisturizing
- Large eggs: The standard binder and emulsifier in baking
- Egg substitutes: Vegan and allergy-friendly alternatives
Dairy and Non-Dairy Products: Adding Creaminess and Moisture
- Milk: Providing moisture and tenderness
- Yogurt and sour cream: Tanginess and richness
- Non-dairy alternatives: Catering to dietary preferences and restrictions
Flavor Enhancers: Infusing Your Creations with Taste
- Vanilla extract: The quintessential flavor enhancer
- Spices: Cinnamon, nutmeg, cardamom, and more for warmth and complexity
- Citrus zest: Adding brightness and zing
Key Techniques and Tips for Baking Success
- Read the Recipe:
– Carefully read the entire recipe before starting. Familiarize yourself with the ingredients, measurements, and steps involved.
– Understand the order in which ingredients are added and the baking temperature and time required. - Measure Accurately:
– Use proper measuring cups and spoons for both dry and liquid ingredients.
– Spoon dry ingredients into the measuring cup and level it off with a straight edge for precision.
– When measuring liquids, place the measuring cup on a flat surface and check the measurement at eye level. - Prepare Ingredients in Advance:
– Ensure that all ingredients are at room temperature unless specified.
– Pre-measure and organize ingredients before starting to make the process smoother. - Use Quality Ingredients:
– Opt for fresh and high-quality ingredients for the best flavor and results.
– Pay attention to the expiration dates of leavening agents like baking powder and baking soda for optimal rising. - Preheat the Oven:
– Preheat the oven as directed in the recipe. This ensures even baking and consistent results.
- Follow Mixing Techniques:
– Creaming method: Beat butter and sugar together until light and fluffy for cakes and cookies.
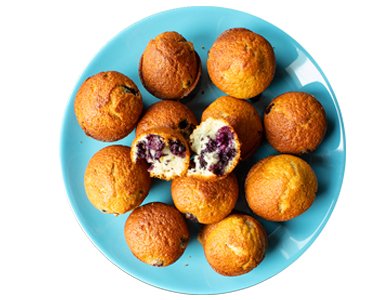
– Muffin method: Mix wet and dry ingredients separately, then combine until just incorporated for muffins and quick breads.
– Folding method: Gently combine delicate ingredients, like whipped egg whites or sifted flour, into a batter to maintain airiness. - Understand Oven Temperatures:
– Invest in an oven thermometer to verify the accuracy of your oven temperature. If your oven runs hot or cold, adjust the baking time accordingly. - Avoid Overmixing:
– Overmixing can result in dense and tough baked goods. Mix until the ingredients are just combined to prevent overworking the gluten. - Test for Doneness:
– Use toothpicks, cake testers, or the touch test to check if baked goods are fully cooked. Insert a toothpick into the center of a cake or muffin; if it comes out clean or with a few crumbs, it’s done. - Allow for Proper Cooling:
– Let baked goods cool in the pan for a few minutes before transferring them to a wire rack to cool completely. This prevents excess moisture buildup and helps maintain the desired texture.
By implementing these techniques and tips, you’ll be well on your way to baking success. Remember, practice makes perfect, so don’t be discouraged by any initial challenges. Enjoy the process, have fun experimenting with flavors and recipes, and savor the delightful creations you’ll bring to life in your kitchen.
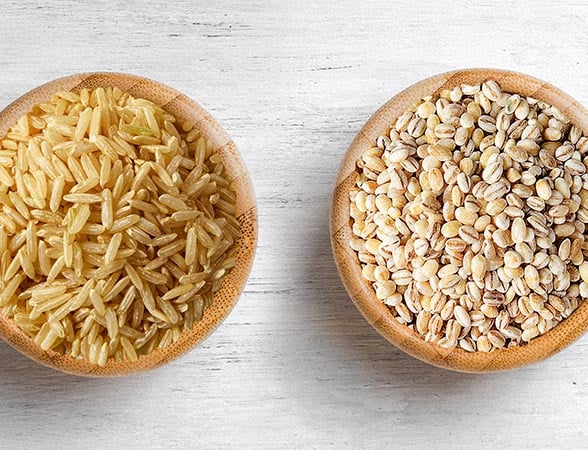
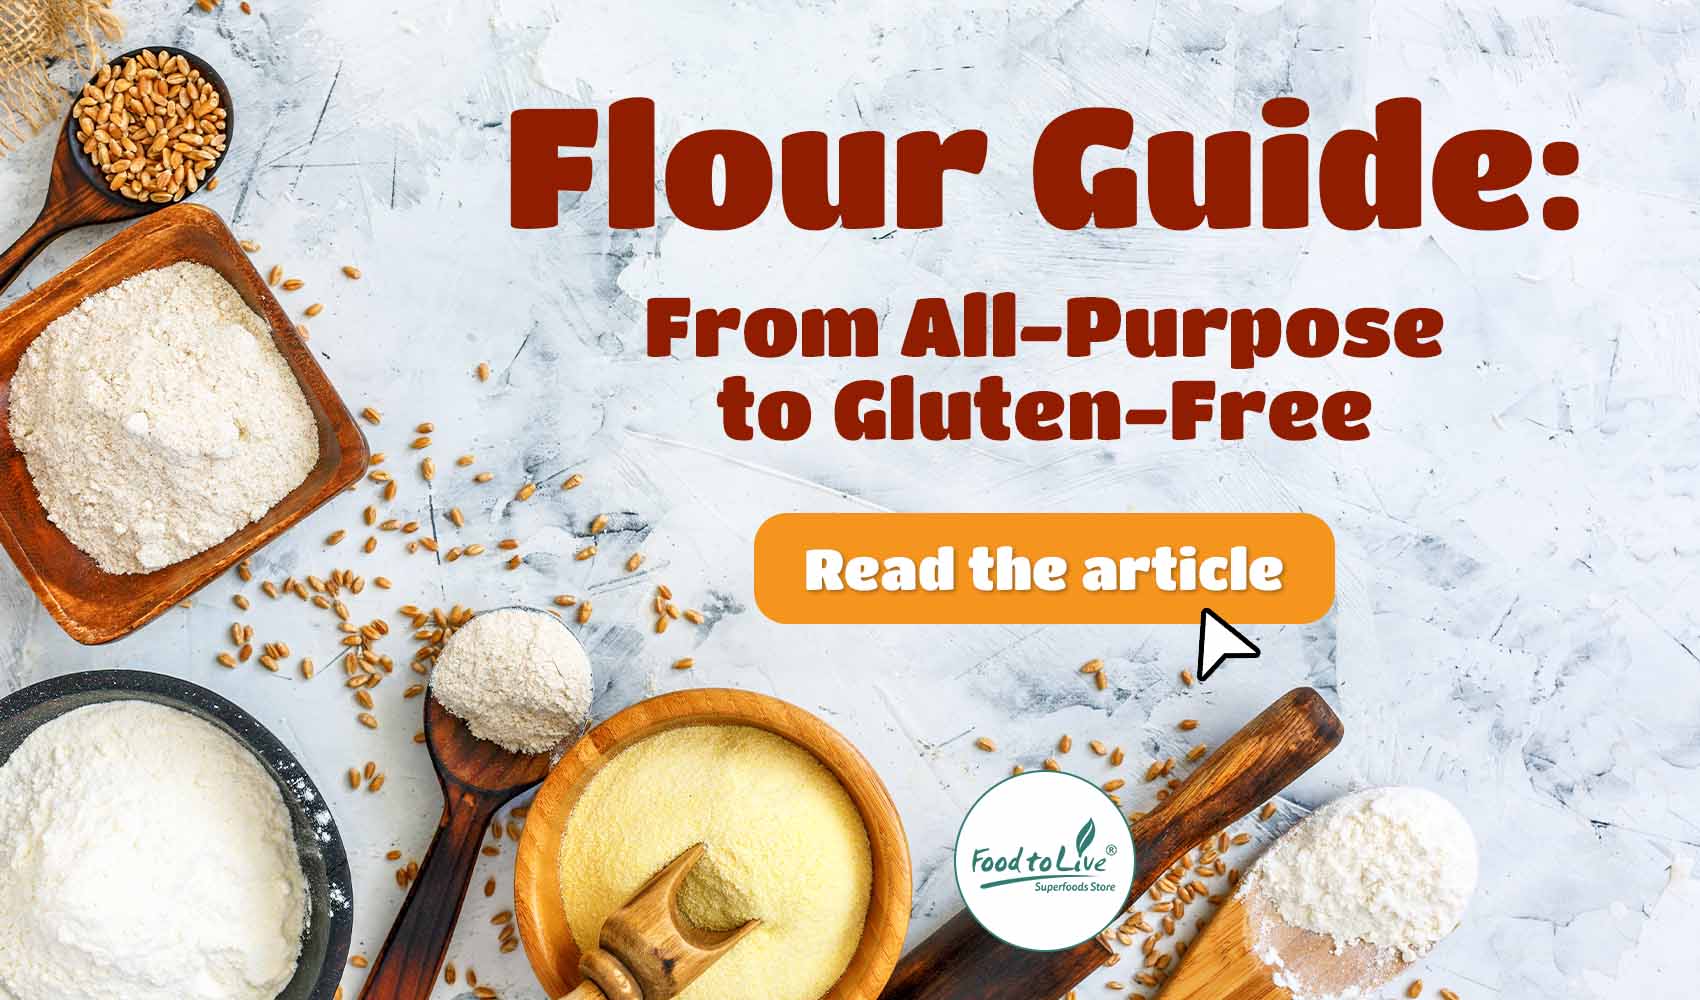
Exploring the World of Flours
When it comes to baking, choosing the right flour is key to achieving the desired texture, flavor, and nutritional profile in your baked goods. In one of our previous posts, we took a look at the different types of flours commonly used in baking and talked about their characteristics, uses, and health benefits. Click here to read.
Step-by-Step Beginner Recipes to Master
Ready to put your baking skills into action? Here are some beginner-friendly recipes with complete ingredient lists and detailed step-by-step instructions:
Classic Chocolate Chip Cookies:
INGREDIENTS:
- 1 cup (2 sticks) unsalted butter, softened
- 1 cup granulated sugar
- 1 cup packed brown sugar
- 2 large eggs
- 1 teaspoon vanilla extract
- 3 cups all-purpose flour
- 1 teaspoon baking soda
- 1/2 teaspoon salt
- 2 cups chocolate chips
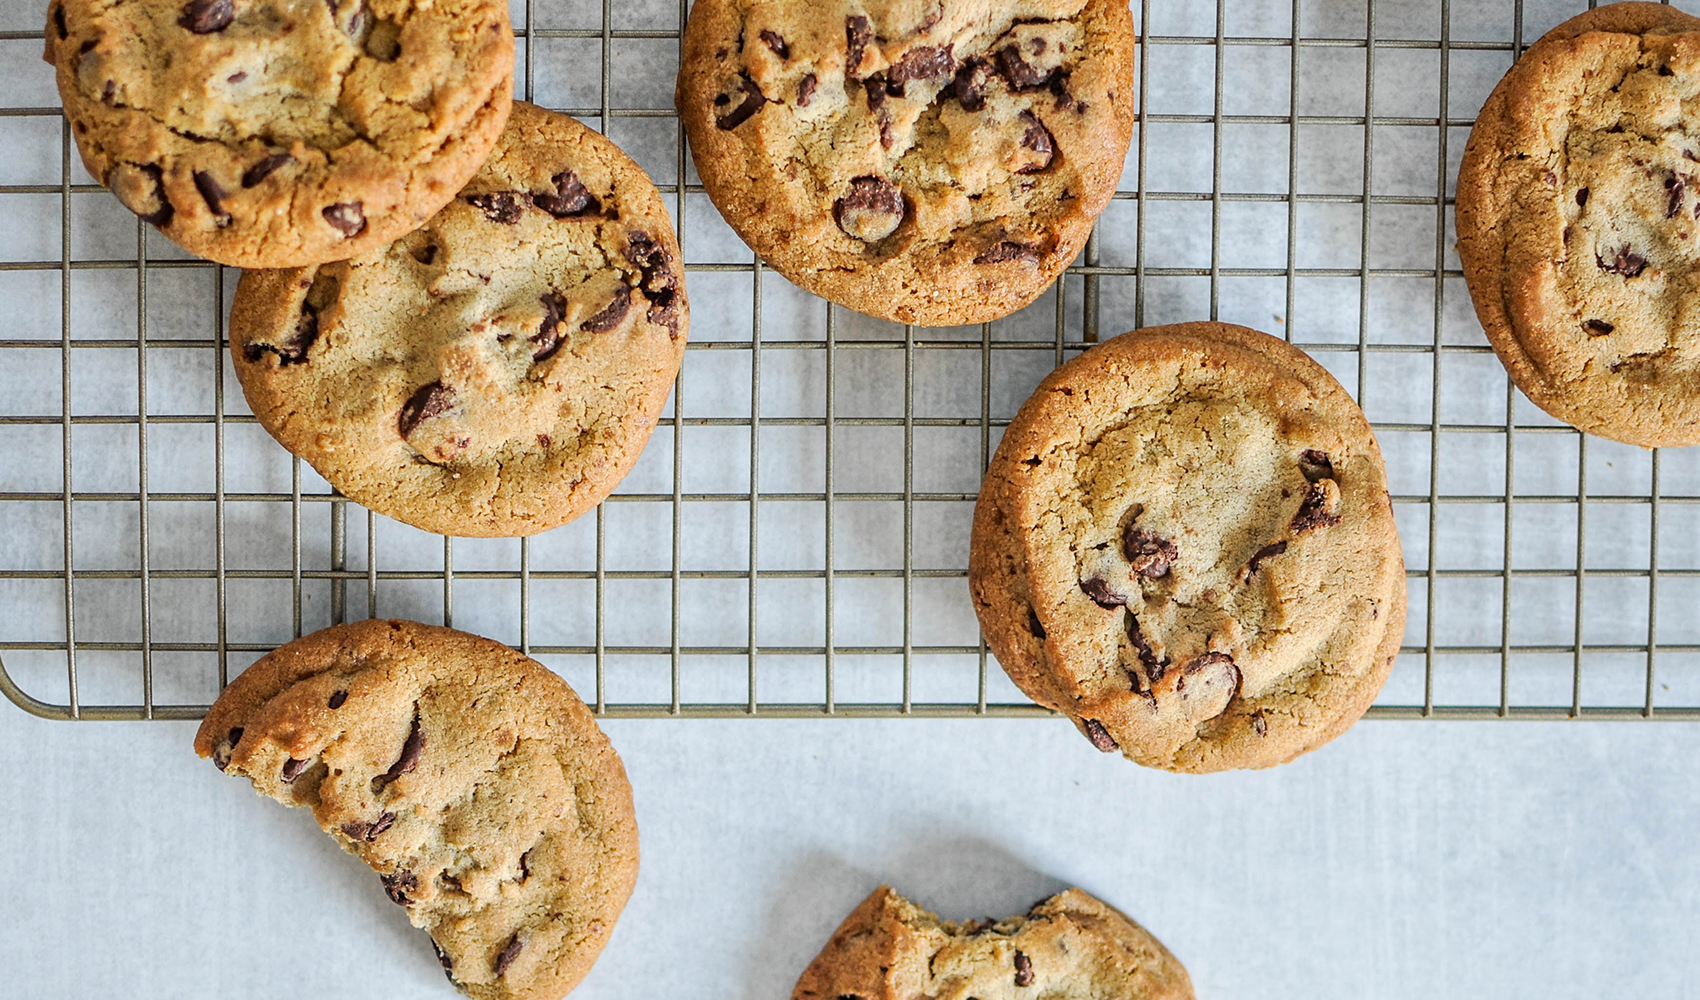
INSTRUCTIONS:
- Preheat the oven to 375°F (190°C) and line a baking sheet with parchment paper.
- In a large bowl, cream together the softened butter, granulated sugar, and brown sugar until light and fluffy.
- Beat in the eggs, one at a time, followed by the vanilla extract.
- In a separate bowl, whisk together the all-purpose flour, baking soda, and salt.
- Gradually add the dry ingredients to the wet ingredients, mixing until just combined.
- Stir in the chocolate chips until evenly distributed throughout the dough.
- Drop rounded tablespoons of dough onto the prepared baking sheet, spacing them about 2 inches apart.
- Bake for 9 to 11 minutes or until the edges are golden brown.
- Remove from the oven and let the cookies cool on the baking sheet for a few minutes before transferring them to a wire rack to cool completely.
Whole Wheat Banana Bread:
INGREDIENTS:
- 2 cups whole wheat flour
- 1 teaspoon baking soda
- 1/4 teaspoon salt
- 1/2 cup unsalted butter, melted
- 3/4 cup honey or maple syrup
- 2 large eggs
- 4 ripe bananas, mashed
- 1/4 cup milk
- 1 teaspoon vanilla extract
- 1/2 cup raisins
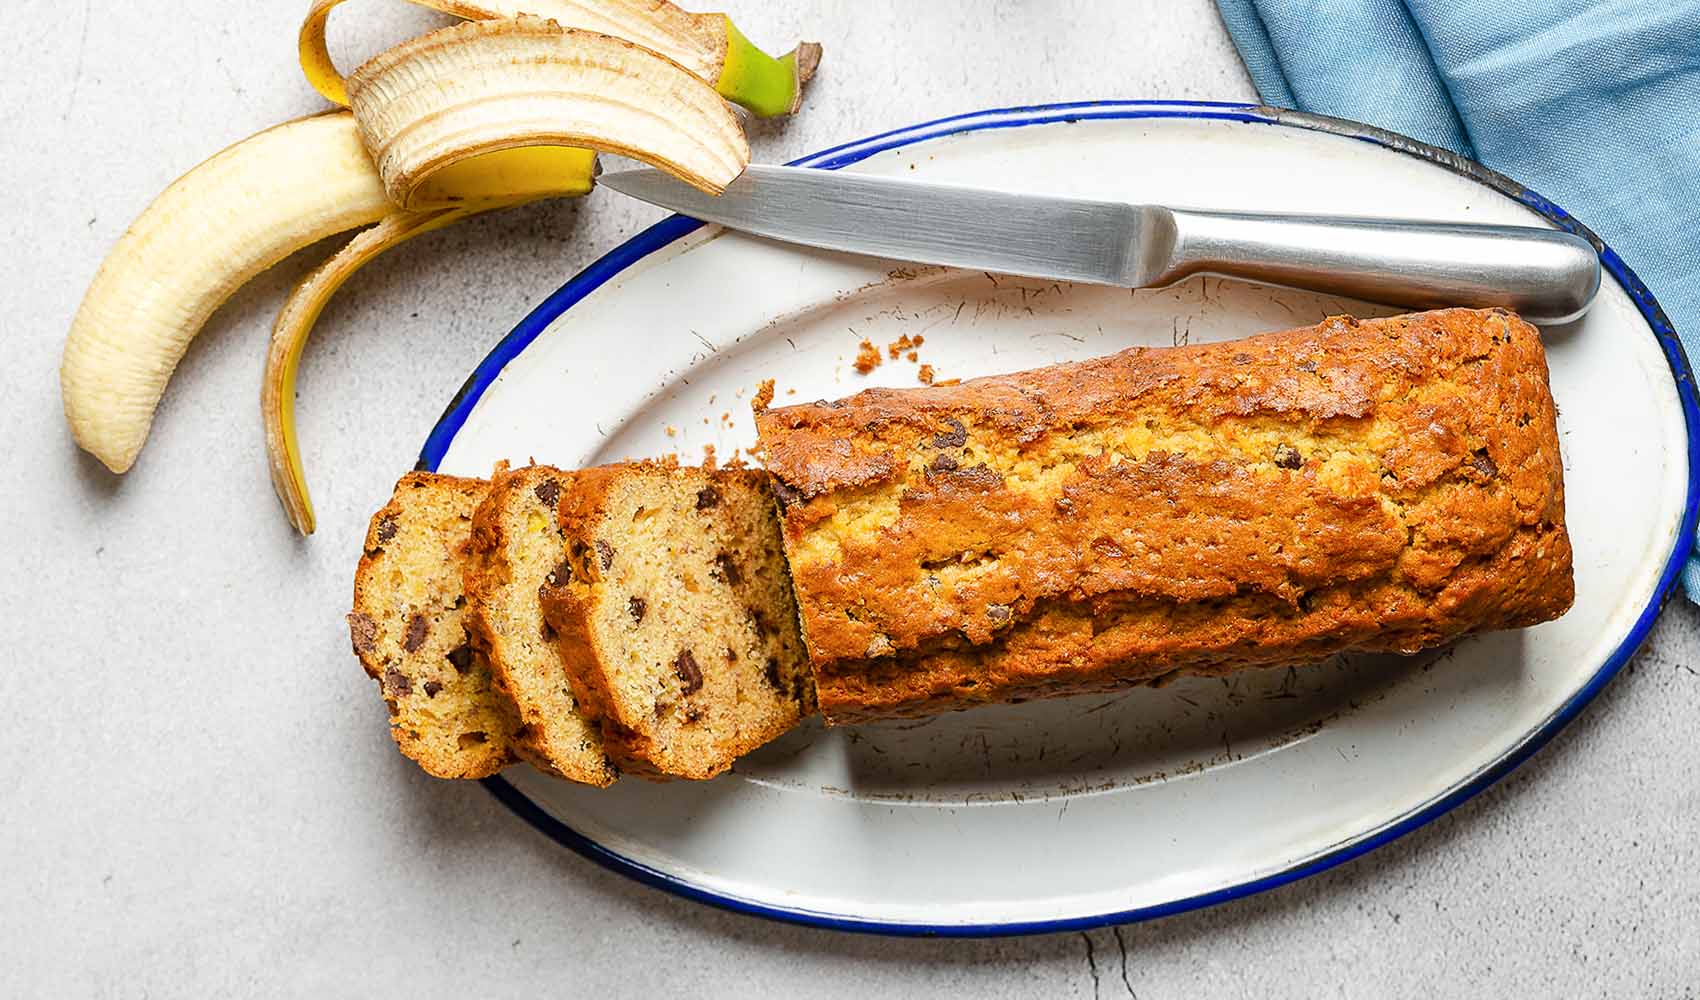
INSTRUCTIONS:
- Preheat the oven to 350°F (175°C) and grease a 9×5-inch loaf pan.
- In a medium bowl, whisk together the whole wheat flour, baking soda, and salt.
- In a separate large bowl, mix together the melted butter and honey or maple syrup until well combined.
- Beat in the eggs, one at a time, followed by the mashed bananas, milk, and vanilla extract.
- Gradually add the dry ingredients to the wet ingredients, stirring until just combined. Do not overmix.
- Gently fold in the raisins until evenly distributed.
- Pour the batter into the prepared loaf pan and smooth the top with a spatula.
- Bake for about 55-60 minutes or until a toothpick inserted into the center comes out clean.
- Allow the banana bread to cool in the pan for 10 minutes before transferring it to a wire rack to cool completely.
Coconut Flour Pancakes:
INGREDIENTS:
- 1/4 cup coconut flour
- 1/4 teaspoon baking powder
- Pinch of salt
- 2 tablespoons honey or maple syrup
- 4 large eggs
- 1/4 cup milk of your choice
- 1 teaspoon vanilla extract
- Coconut oil for cooking
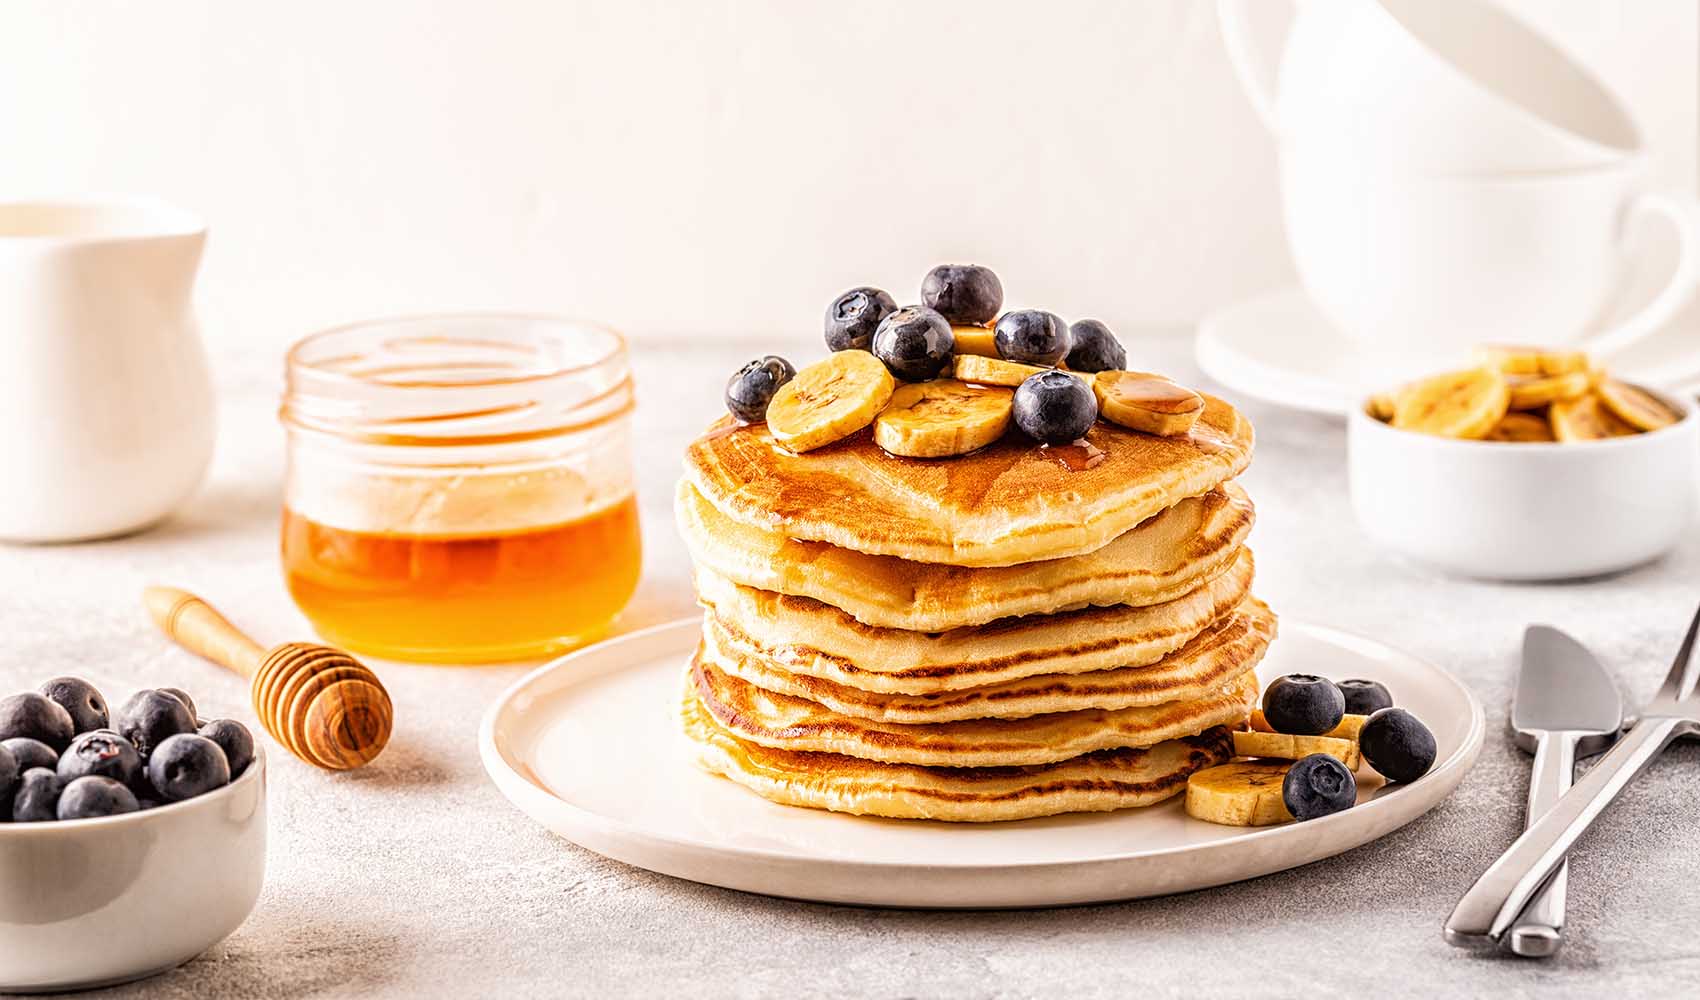
INSTRUCTIONS:
- In a bowl, whisk together the coconut flour, baking powder, and salt.
- In a separate bowl, whisk together the honey or maple syrup, eggs, milk, and vanilla extract until well combined.
- Add the wet ingredients to the dry ingredients and stir until a smooth batter forms. Let the batter sit for a few minutes to allow the coconut flour to absorb the liquid.
- Heat a non-stick skillet or griddle over medium heat and lightly grease it with coconut oil.
- Pour about 1/4 cup of batter onto the skillet for each pancake. Cook until bubbles form on the surface, then flip and cook the other side until golden brown.
- Repeat with the remaining batter, adding more coconut oil to the skillet as needed.
- Serve the pancakes warm with your favorite toppings, such as fresh berries, sliced bananas, or a drizzle of maple syrup.
Basic Pie Crust:
INGREDIENTS:
- 2 1/2 cups pastry flour
- 1 teaspoon salt
- 1 cup unsalted butter, cold and cut into small cubes
- 6-8 tablespoons ice water
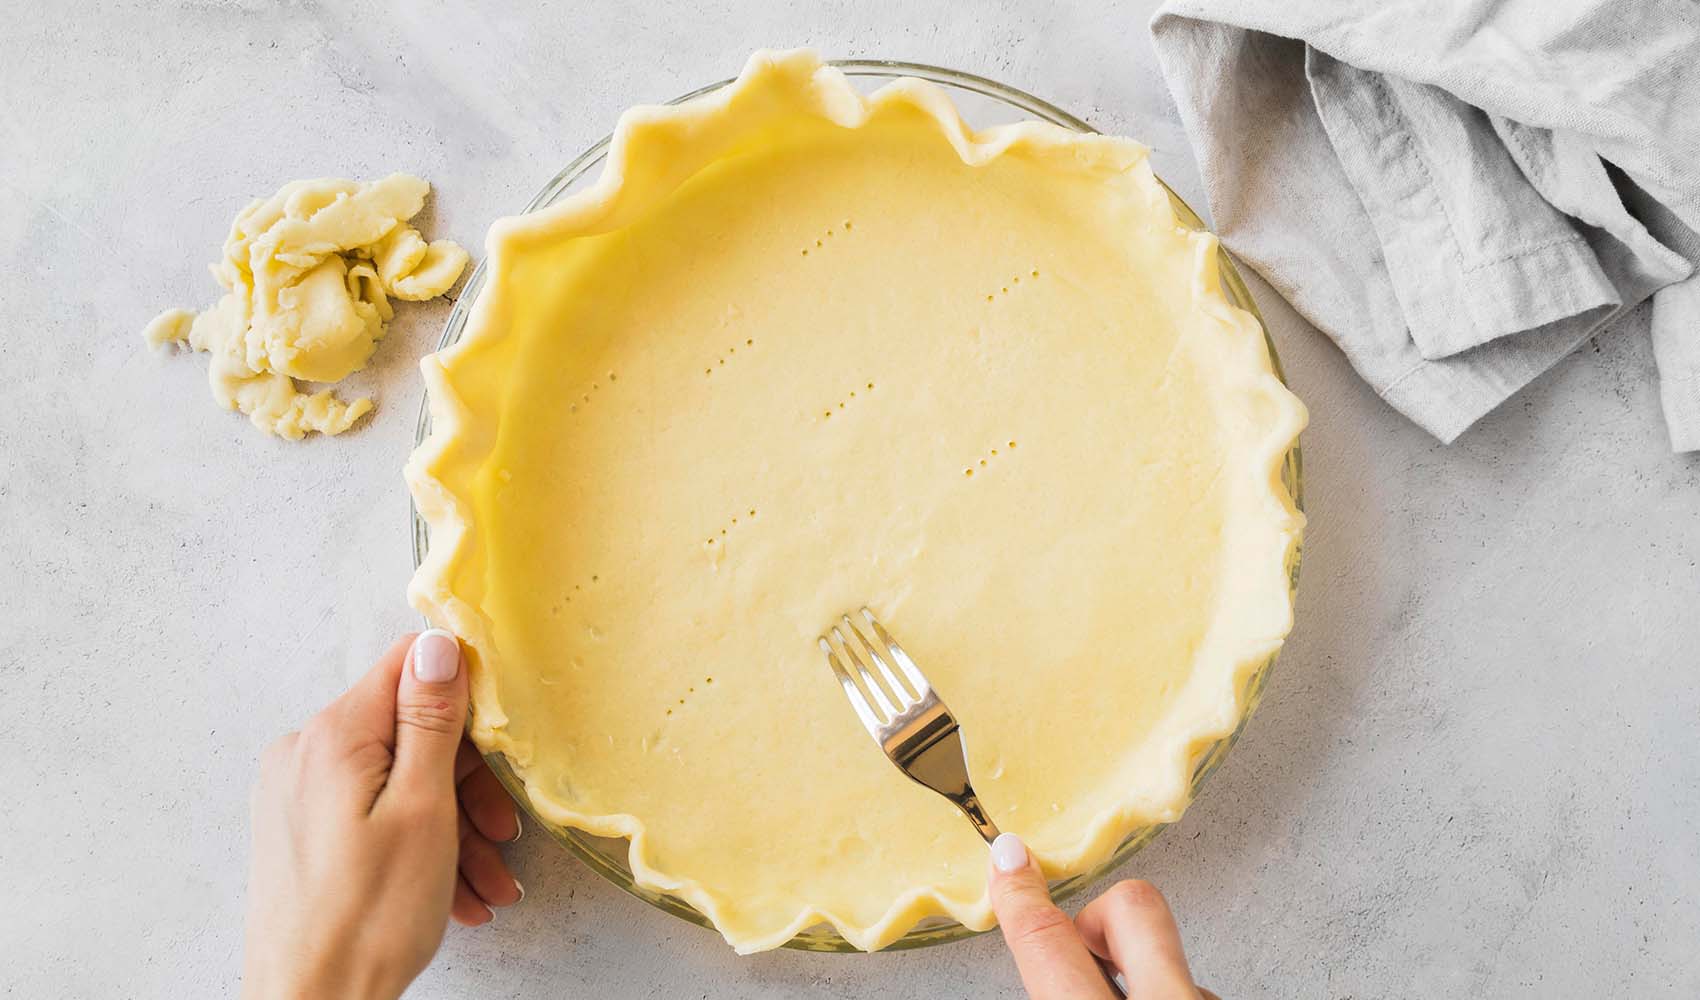
INSTRUCTIONS:
- In a mixing bowl, whisk together the pastry flour and salt until well combined.
- Add the cold, cubed butter to the flour mixture.
- Using a pastry cutter or your fingers, cut the butter into the flour until the mixture resembles coarse crumbs with pea-sized butter pieces.
- Gradually add the ice water, one tablespoon at a time, and mix the dough with a fork until it starts to come together. Add just enough water to bring the dough together; be careful not to add too much, as it can make the dough too sticky.
- Turn the dough out onto a lightly floured surface and gently knead it a few times until it forms a smooth ball. Be careful not to overwork the dough, as this can make it tough.
- Divide the dough in half and flatten each portion into a disc. Wrap them separately in plastic wrap and refrigerate for at least 1 hour before using.
- When ready to use, remove one disc of dough from the refrigerator and let it sit at room temperature for about 5-10 minutes to slightly soften.
- Roll out the dough on a lightly floured surface into a circle, about 12 inches in diameter, or large enough to fit your pie dish.
- Carefully transfer the rolled-out dough to your pie dish, gently pressing it into the bottom and sides.
- Trim any excess dough hanging over the edges and crimp the edges using your preferred method.
- At this point, the pie crust is ready to be filled according to your pie recipe. Follow the instructions for baking time and temperature as specified in your recipe.
Congratulations, you are now equipped with the knowledge, tips, and recipes to embark on your baking adventure! Remember, baking is an art that requires practice, patience, and a willingness to experiment. So, roll up your sleeves, stock up on quality flours and ingredients from our superfood store, and let your creativity soar in the kitchen. From delicious cupcakes to mouthwatering brownies and aromatic cinnamon rolls, your baking possibilities are endless. Enjoy the journey, savor the flavors, and share the love of homemade goodies with your loved ones. Happy baking!